
6:49 MINUTES · UPDATED FEBRUARY 2026
QuikAuthor 103: Building Courses from Scratch & Using Templates
A deep dive into creating courses using our pre-built templates or starting from a blank canvas.
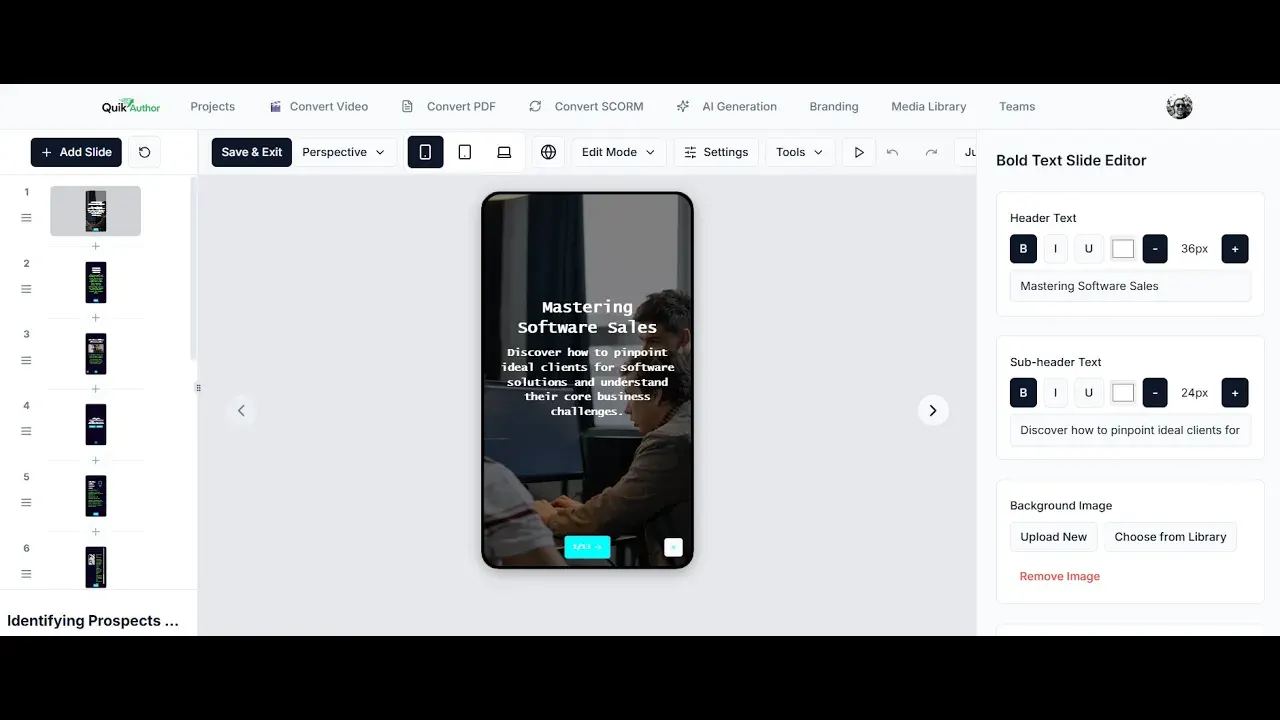
About this Tutorial
Build professional courses using QuikAuthor's extensive template library or start with a blank canvas for total creative control. This tutorial covers how to select templates for different learning objectives, customise slide layouts, add interactive elements like quizzes and games, and preview your content in real-time. We show how our mobile-first design ensures your courses look great on any device.
Next tutorial: QuikAuthor 104: Personalizing Your Profile & Advanced Settings
Transcript
Okay, let's build a course from scratch.
The first thing we want to do is go to the projects area, click "new," and then "new course."
We're going to give it a name, "demo course," and provide a description.
We'll also add tags, like "demo" and "quick author." These tags will help your learners find the course.
You can also change the front cover image; let's do that now and click "create."
Now that we've done that, we have the course details uploaded.
We can make any changes there if we want, such as adding more tags or changing the cover image.
You can change all the branding and the design for this particular course, and you can do this at the lesson level as well.
Next, we're going to add a lesson. Let's go ahead and add a blank lesson titled "Demo," then click "generate."
By default, we're given two slides: our introduction and our exit.
As with everything in QuikAuthor, you can just go ahead and type to change anything you want, including colour, size, and style.
If I want to change the image, I can choose something from the library and drop it in to see it appear.
You can also edit directly into the experience using the hover menu, but we'll stay in the clean view editor for today.
To build your experience, all you need to do is add new slides.
You can do that by clicking the button at the top, or by clicking "add slide" exactly where you want it.
If you've built other courses, you can even bring in slides from another course by dropping them in.
If you're building from scratch, you'll follow these templates: Teaching, Testing, Gaming, and Branching & Logic.
Let's start with "Teach." We're going to choose a simple flip card.
Here, you can just flip the card to find more information.
Again, you can make changes to the title, the front of the card, the back, or the colours by following the instructions.
It's super simple; just follow the prompts provided.
There are many different teaching templates available, including those focused on imagery.
We'll choose a simple "before and after" template.
Just make the changes you want, such as updating the colour or choosing a new image from the library.
I'll crop the image to shape, drop it in, and we can see the new image right here.
If I want to change the associated text, I can easily adjust the size and colour.
Quizzes are just as simple to create.
We'll look at the quizzing templates and choose a simple "true or false" option.
We'll change the question and set the correct answer to "true."
I can change the text here as well before submitting.
There are lots of templates to choose from, including image-based options.
For example, if you want to set hotspots, you have all the controls to move, rename, and rebrand them.
Now let's look at "Games," like the "Millionaire" game.
We can change any details, questions, or answers that we want.
You can also add more lifelines and clues to see how they work within the experience.
When you interact with the learning, you can also see the feedback aspect.
You can toggle timers on or off and adjust the amount of time available for learners.
Everything is "colour by numbers" here, with many different games to choose from.
You can also use branching logic.
For example, if we use a confidence slider, I can set it so that if a learner is 90% confident, they can skip ahead.
You can change the controls around what confidence looks like and where the learner will skip to.
Here, they can move straight to the end if they get the question right.
Just be mindful of the warning regarding skipped quizzes; for SCORM reporting, skipped quizzes won't count toward the final result.
If you want to change the perspective to a "storybook view" to move things around, you can do that, but we'll keep it in "focus view."
You can also see what it looks like on different devices or share a unique generated link for others to preview the course.
If you want to change lesson-specific branding, behaviours, or the cover image, all those controls are available as well.
Once you're happy with the lesson building, you can do a QA scan to make sure there are no bugs.
If you need to, you can translate the course into different languages, but we'll keep this one in English.
When you're ready to export, you can choose specific lessons or a particular format.
There is also a PDF review document option that exports the text, and an HTML link for browser access.
I hope you enjoyed that, and I look forward to seeing your results!