
1:05 MINUTES · UPDATED FEBRUARY 2026
QuikAuthor 104: Personalizing Your Profile & Advanced Settings
Customise your QuikAuthor experience and manage your advanced account settings.
About this Tutorial
Personalise your QuikAuthor account to streamline your workflow. In this short guide, we show you how to check your plan allowance and usage, update your avatar, manage teams and permissions, and handle course sharing. Setting up your profile correctly ensures smooth collaboration within your organisation.
Next tutorial: QuikAuthor 105: Turning Video into Interactive AI Courses
Transcript
Let's take a look at the profiles area.
All you need to do is click onto your icon at the top here to find your profile.
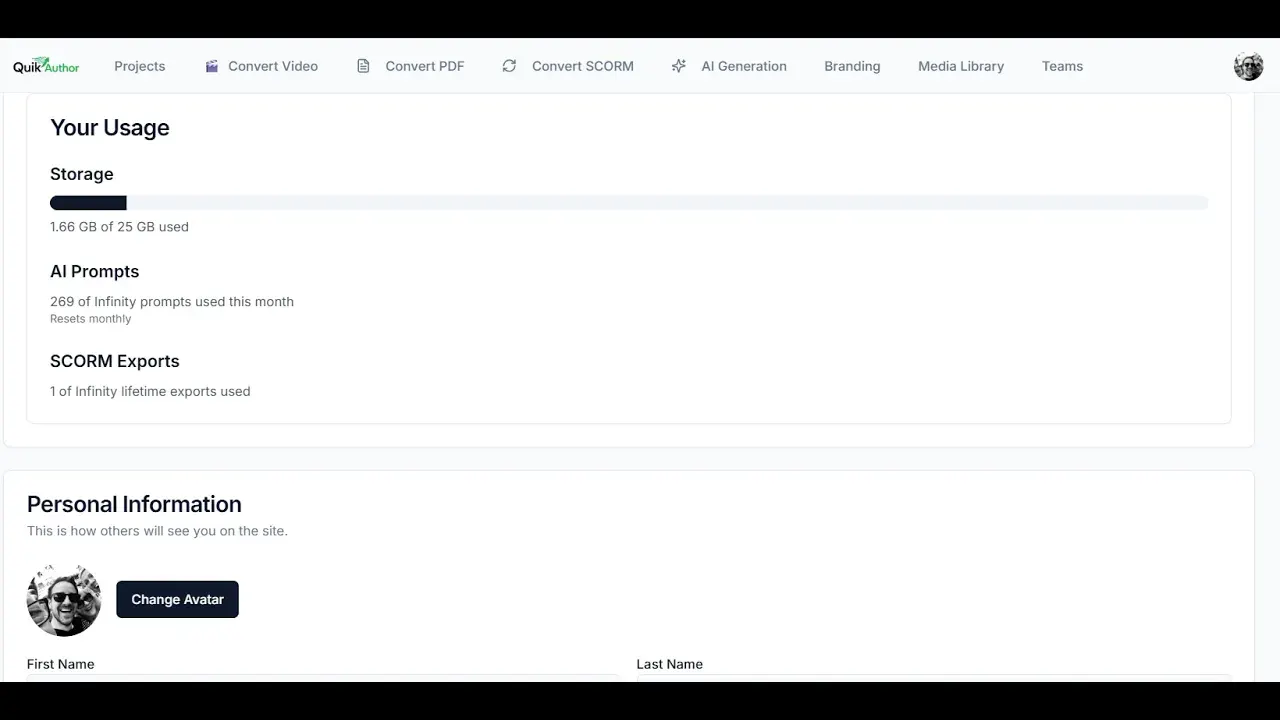
Here you'll be able to see your allowance and how much of it you have used.
You can also change your avatar if you want to choose a different image to represent yourself.
Just click the button, choose your image, crop it, and save it.
You can see your name listed here as well.
If you're associated with specific teams, you will find those details in this section.
We'll have a look at teams in a second, but you can also change any of your personal details here.
Now, let's have a quick look at teams.
In the teams section, you have the ability to invite people to join your team as an administrator.
You also have the ability to set what permissions they have within the system.
Once teams is turned on, the administrator can share content with other people.
Users can also choose to share within their team by using the "move to team" options available in the course cards.